A Look At The Process
The ESTAIT
Pre-Construction
Experience
1.) Initial meeting (phone conversation)
2.) In-person meeting (preferably on site)
3.) Architectural revision meetings to perfect house plans
4.) Full design & selection process
5.) Full estimating of project to determine budget
Why Pre-Construction Process?
The Pre-Construction and the Construction Phases of a Custom Home are two complete separate phases. Building a Custom Home is one of the most exciting and rewarding investments you can make, but it’s also a complex process that requires careful planning. A Custom Home Construction Timeline can vary depending on many factors like Size, Lot Shape, Design, and how long it takes home owners to make decisions. We have done this before and have found that we need to be involved in the pre-construction process to ensure a smooth build timeline. We have the ability and expertise to secure your building lot, Architectural Drawings, Landscape Drawings, Structural Engineering, Exterior and interior Design, and all selections needed for your project.
This process is needed for a Custom Home as all lots, selections, and needs are different on every build. Going through the Pre-Construction Process gives us real time information to avoid redesigning during construction to try to fit estimated budgets and timing. The Pre-Construction Process gives accurate financial data early and accurate scheduling dates early. There is no way for us to provide an accurate budget and accurate timeline if we don’t have an accurate plan for what we are building.
This process takes a lot of time that we need to dedicate to your project and for this reason we charge for our pre-construction services and expertise. A Custom Home can also be a roller coaster of an experience with many exciting stages. There will also be many problem-solving events and challenges throughout the construction phase of your project. The pre-construction phase helps us get ahead of many of these issues from the start. There is no obligation to build with us by using our pre-construction services. At the end of the pre-construction phase you will have the pieces necessary to move forward with your project whether that is with us or another builder. If you decide to continue the construction phase with us a portion of your pre-construction fee will count towards your Build Fee Costs.


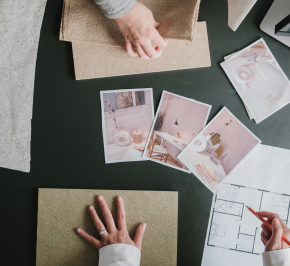
ESTAIT Pre-Construction Process includes:
This meeting Includes:
(Our President Jeff Tait, VP of Construction Zach Garrett, VP of Design Aajah Armstrong, and VP of Real Estate Blake Vanderstek)
2 design Revision meetings for Architectural Plans
Structural Engineering
Engineering Fees will be paid by owner directly to the Engineering Firm
Civil Engineering if Needed
Some projects Require Soils Engineering, Retaining Walls, Drainage Plans, Etc.
These engineering fees would also be paid directly to Engineering Firm

Selections/Design Process
(can make up to 2 full revisions in all selection categories)
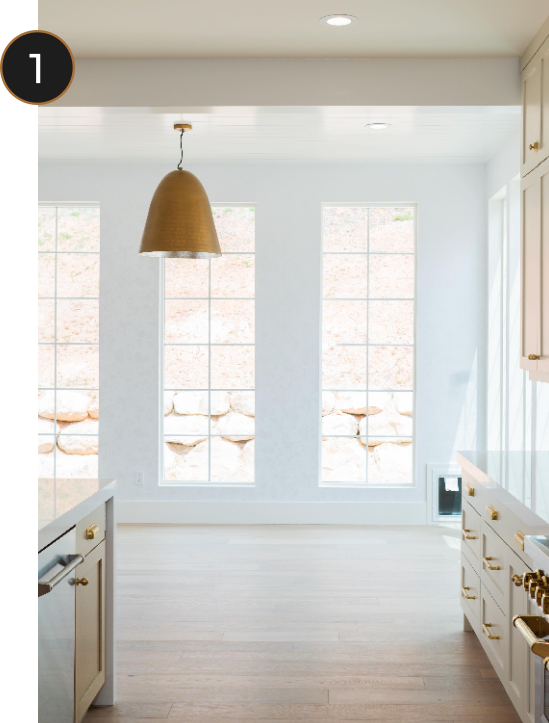
The design team will start by creating a full home "shopping list" using the final architect drawings that we will use for reference & update throughout the design process.
- Initial Design Meeting
- Review Pinterest board
- Determine must-haves & amenities
- Exterior material & color discussion
- Browse garage door brochures from trusted companies and choose a few options to bid
- Select window colors & types (sliding doors, specialty glass doors)
- Determine all areas for custom doors styles (interior & exterior)
- Select style of interior doors, baseboards, door casing, window casing & sills.
- Design team will start to input information into design documents
Selections/Design Process
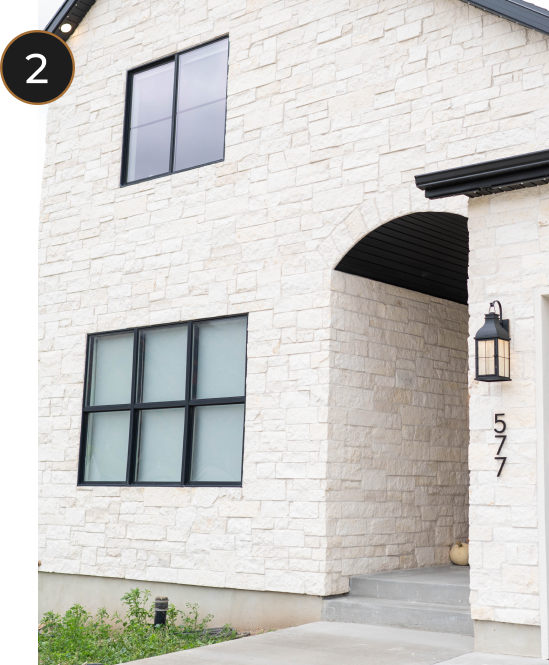
2nd Design Meeting
- Select materials for all exterior siding, soffit, fascia and accent walls
Select roofing materials from options provided by the Designer
- Determine desired decking materials for any required areas (Trex/Waterproof deck systems)
- Create all cabinet concepts so we can submit layouts & inspiration to cabinet suppliers. Will determine cabinet layouts & special features, paint grade & stain grade areas, and cabinet door style for each room.
- Determine all millwork areas, styles, & materials
- “Homework” for client at this time: start discussing closet wishes/must haves and gather inspiration photos to be prepared for our closet meeting
Selections/Design Process
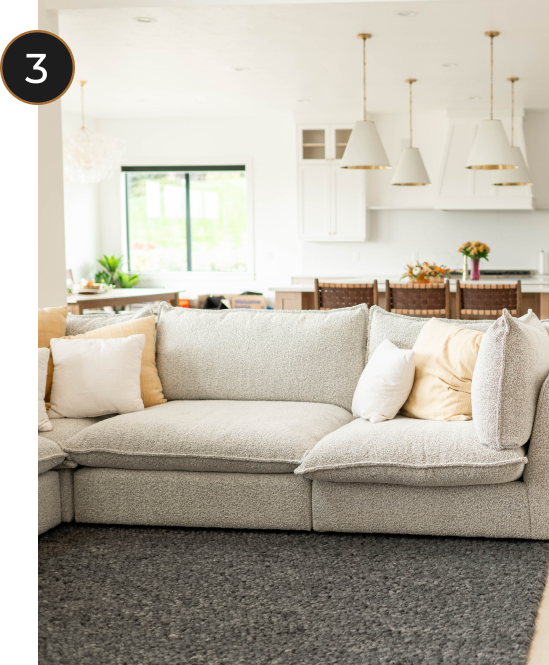
3rd Design Meeting
- Select interior & exterior railing style, material, and details for all areas (hand rail, newel posts, balusters)
- Determine shower glass style & hardware color for each area
- Discuss areas for special finishes (plaster, brick, stone, stone
- Select interior paint from options provided by the designer. Clarify areas and finishes.
- Select interior paint from options provided by the designer. Clarify areas and finishes.
Selections/Design Process
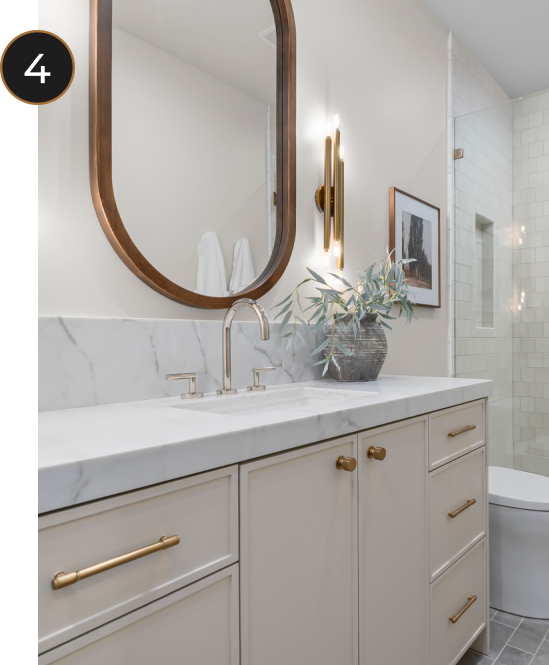
4th Design Meeting
- Review light fixture package presented by designer & edit/approve selections
- Determine color/style of all cabinet & door hardware
- Choose bath accessory style & color for each bathroom
- Select wallpaper if applicable
- Select all mirrors
